How Best to Wear our Wired Headband

One of the many reasons we created our wired headband is to provide something with tremendous versatility it offers. We wanted to add an accessory to our collection that serves multiple functions, and we’d love for everyone to use it to its full potential!
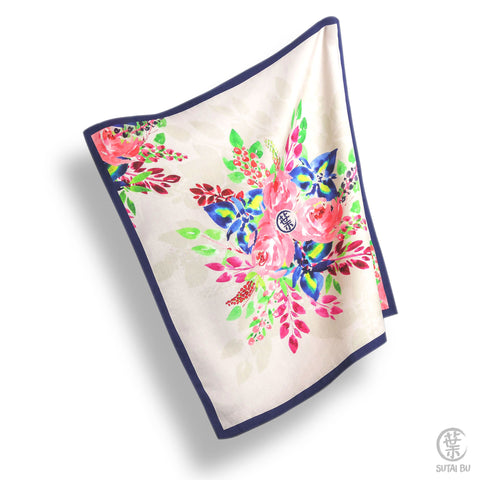
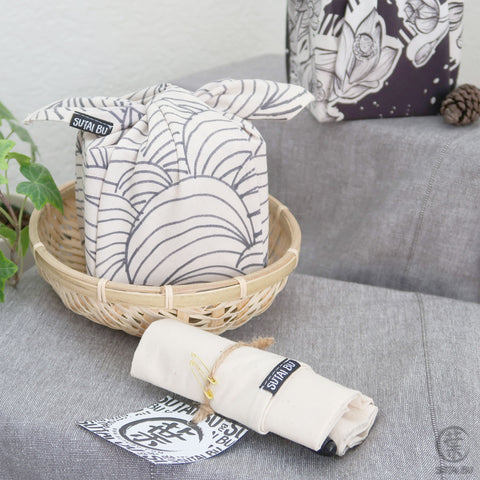
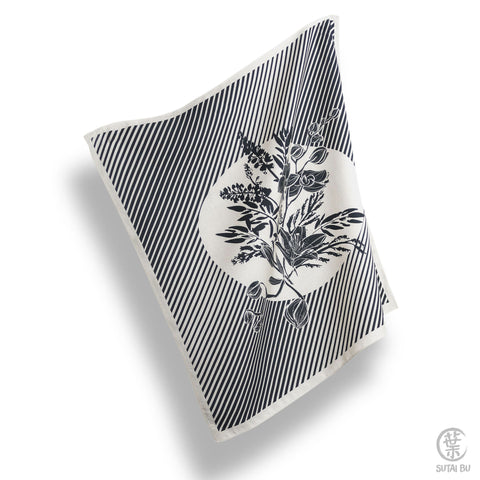
So let’s talk about its structure. It’s made with the remnants of our wrapping cloth and copper wire that is not too thick, but strong enough to hold the structure together. We have specifically designed a hidden tunnel for the wire to stay in place and still keep a minimalistic outer look. And as a finishing touch, all of our products are sealed with our brand label so you can easily find us again in the future.
Now, let’s dive into how best to style with it! In this post, we’ll show you how to style it as a headband.
TIP
- Channel your inner creativity
- Have a Zen moment; be patient with yourself
- Know that practice makes perfect
ARE YOU READY? LET’S DO IT!
WHAT YOU NEED
- Scrunchie, to hold your hair up in a ponytail.
- Clean and gentle fingers
- Wired headband
STEP 1
Treat yourself like a blank canvas - give yourself a clean working surface to work with by tying your hair up and away from your face. If there’s a specific direction you want your hair to fall, tie your ponytail with it. For example, our model would like her hair fall to the right without a defined hairline, so she first brushes her hair to the right, then ties her hair together.
STEP 2
Unravel and straighten the wire by holding one end with one hand, and gently use your other hand’s fingers to smooth out the wire to the other end. Sometimes the wire shifts in place, so be sure to keep it within the tips of the headband to maintain the best grip when styling.
STEP 3
Place the headband around your neck with the wire side on the bottom of your hairline. Find the pointy points and make sure they match in length, the left and right sides of your neck.
STEP 4
Holding onto the left and right ends of the headband, pull up following the shape of your head and hairline, tightly crossing over and back at the top of your forehead. Take a moment to feel how tight it is. It’s a soft piece of wire, so you don’t want to squeeze your head too tight. But you don’t want it to be too loose either, or it may fall off.
STEP 5
Now you have these “bunny ears” sticking out. One side at a time, tuck it under as you flip and wrap the non-wired end over.
STEP 6
To tighten it further, fold and flip fabric in half at the bottom of your hairline.
STEP 7
Press, tuck and mold the wire around until it looks good at the top!
STEP 8
Let you hair down and do some final adjustments.
There you go, ready to go out and rock this lightweight wired headband! Let us know if you have any questions or comments by leaving us a message below! We want to see how you’re styling your wired headband, so tag us on Instagram or Facebook by using the hashtag #SutaiBuStyles.


