


Gift Wrapping: Bottles and Jars

Fall is here... so what does that mean? Gifting season is approaching!
What are some gifting ideas you have in mind for your friends and family? Ever thought of gifting a bottle of spirits or a jar filled with your famous cookie mix recipe? Filling up a jar of your favorite unique snacks can be an option for those of you who love to send a personally put-together gift.
One of the popular and favorable gifts that never gets old is a bottle of alcohol. Whether it’s a 20-year old red wine, Junmai Sake, Hwayo Soju or Maotai, most of us love to chat over a glass of wine and say cheers with laugher during get-togethers and holiday parties. Some of us may not be able to afford an expensive bottle of spirits and feel the need to add on more small items to fill up the volume; or some may be looking for creative ways to meet a White Elephant gift dollar amount at the office. Guess what?! We’ve got some gifting ideas for you.
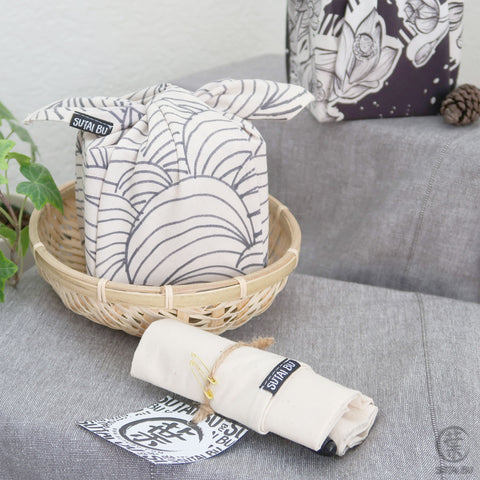
In Japanese culture, it is common to give gifts in the form of bottles and jars. To dress up the look, Furoshiki is one of the common artistic techniques used as gift wrapping and/or carriers to present and transport the gift. It is also one of the safest ways to carry multiple bottles together without having them bang on one another on your ride to Grandma’s house.
In this blog post, we will be showing you 3 ways to wrap a single bottle, double bottles, and half a dozen of bottles with one single piece of square cloth!
Some of you may be new to this idea of wrapping with cloth.
Don’t worry! We will give you:
- A few tips on how best to pick the right size
- Step by step instructions with images on how to wrap the different Furoshiki cloths look
Furoshiki 101

Traditionally, Furoshiki cloths come in a wide range of sizes. Believe it or not, each size has its own name as well! Depending on the size of the bottle, different size cloth will allow you to wrap a certain look with single or double bottles. The two commonly used bottle wrapping sizes are Futanhaba (27”) and Nishihaba (35”).
TIPS
Here are some tips on how to choose the right size cloth to wrap bottles and jars:
- Find out the height and diameter of the bottom of the bottle/jar.
- We have put together a chart on our recommended size cloth:

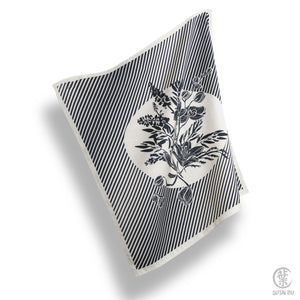
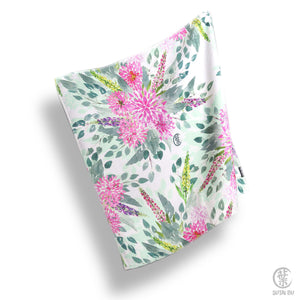
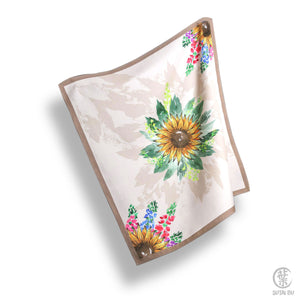
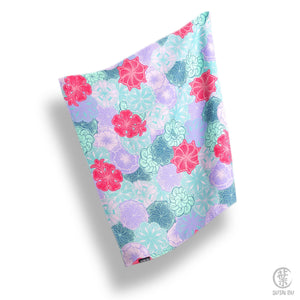
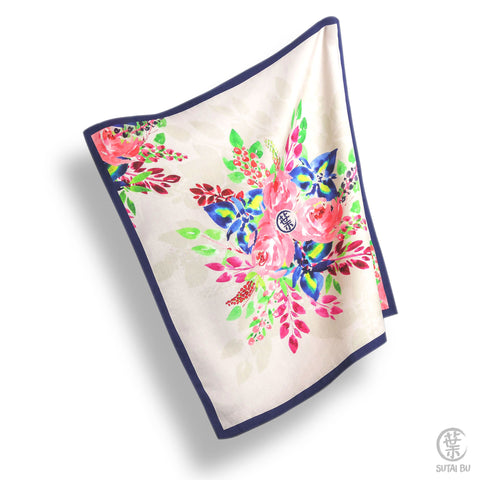
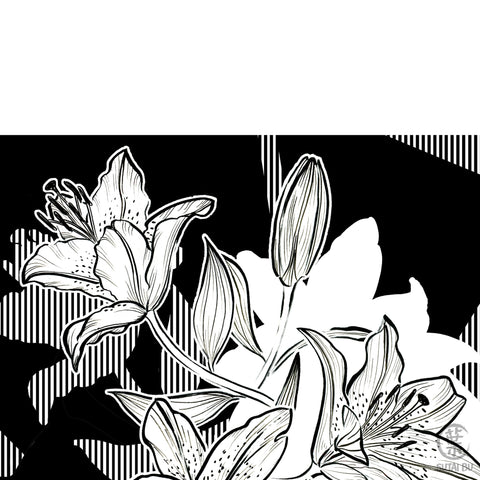
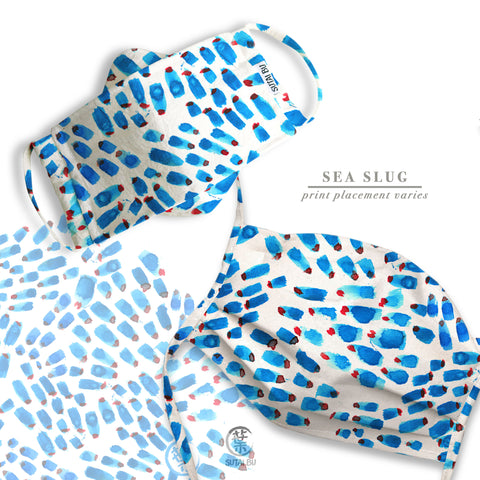
- Choose the right textile designs to suit your gifting occasion! Check out our latest designs and start your wrapping adventure.

Are you ready for your new wrapping adventure?
Let’s begin!
YOU'LL LEARN


WHAT YOU NEED
- Bottles/Jars in 9” Max Height (x6) - In this tutorial, we are using the 17oz and 34oz IKEA KORKEN glass bottles and beer bottles.
- 53” (135 cm) long by 1” (2.5 cm) wide ribbon or our featured Wrapping Band (x1)
- 27” (~68 cm - Futanhaba) Wrapping Cloth (x1)
- 35” (~90 cm - Nishihaba) Wrapping Cloth (x1)*We recommend that you practice with empty bottle/jars first; we don’t want any accidents to happen with your precious gift bottle!

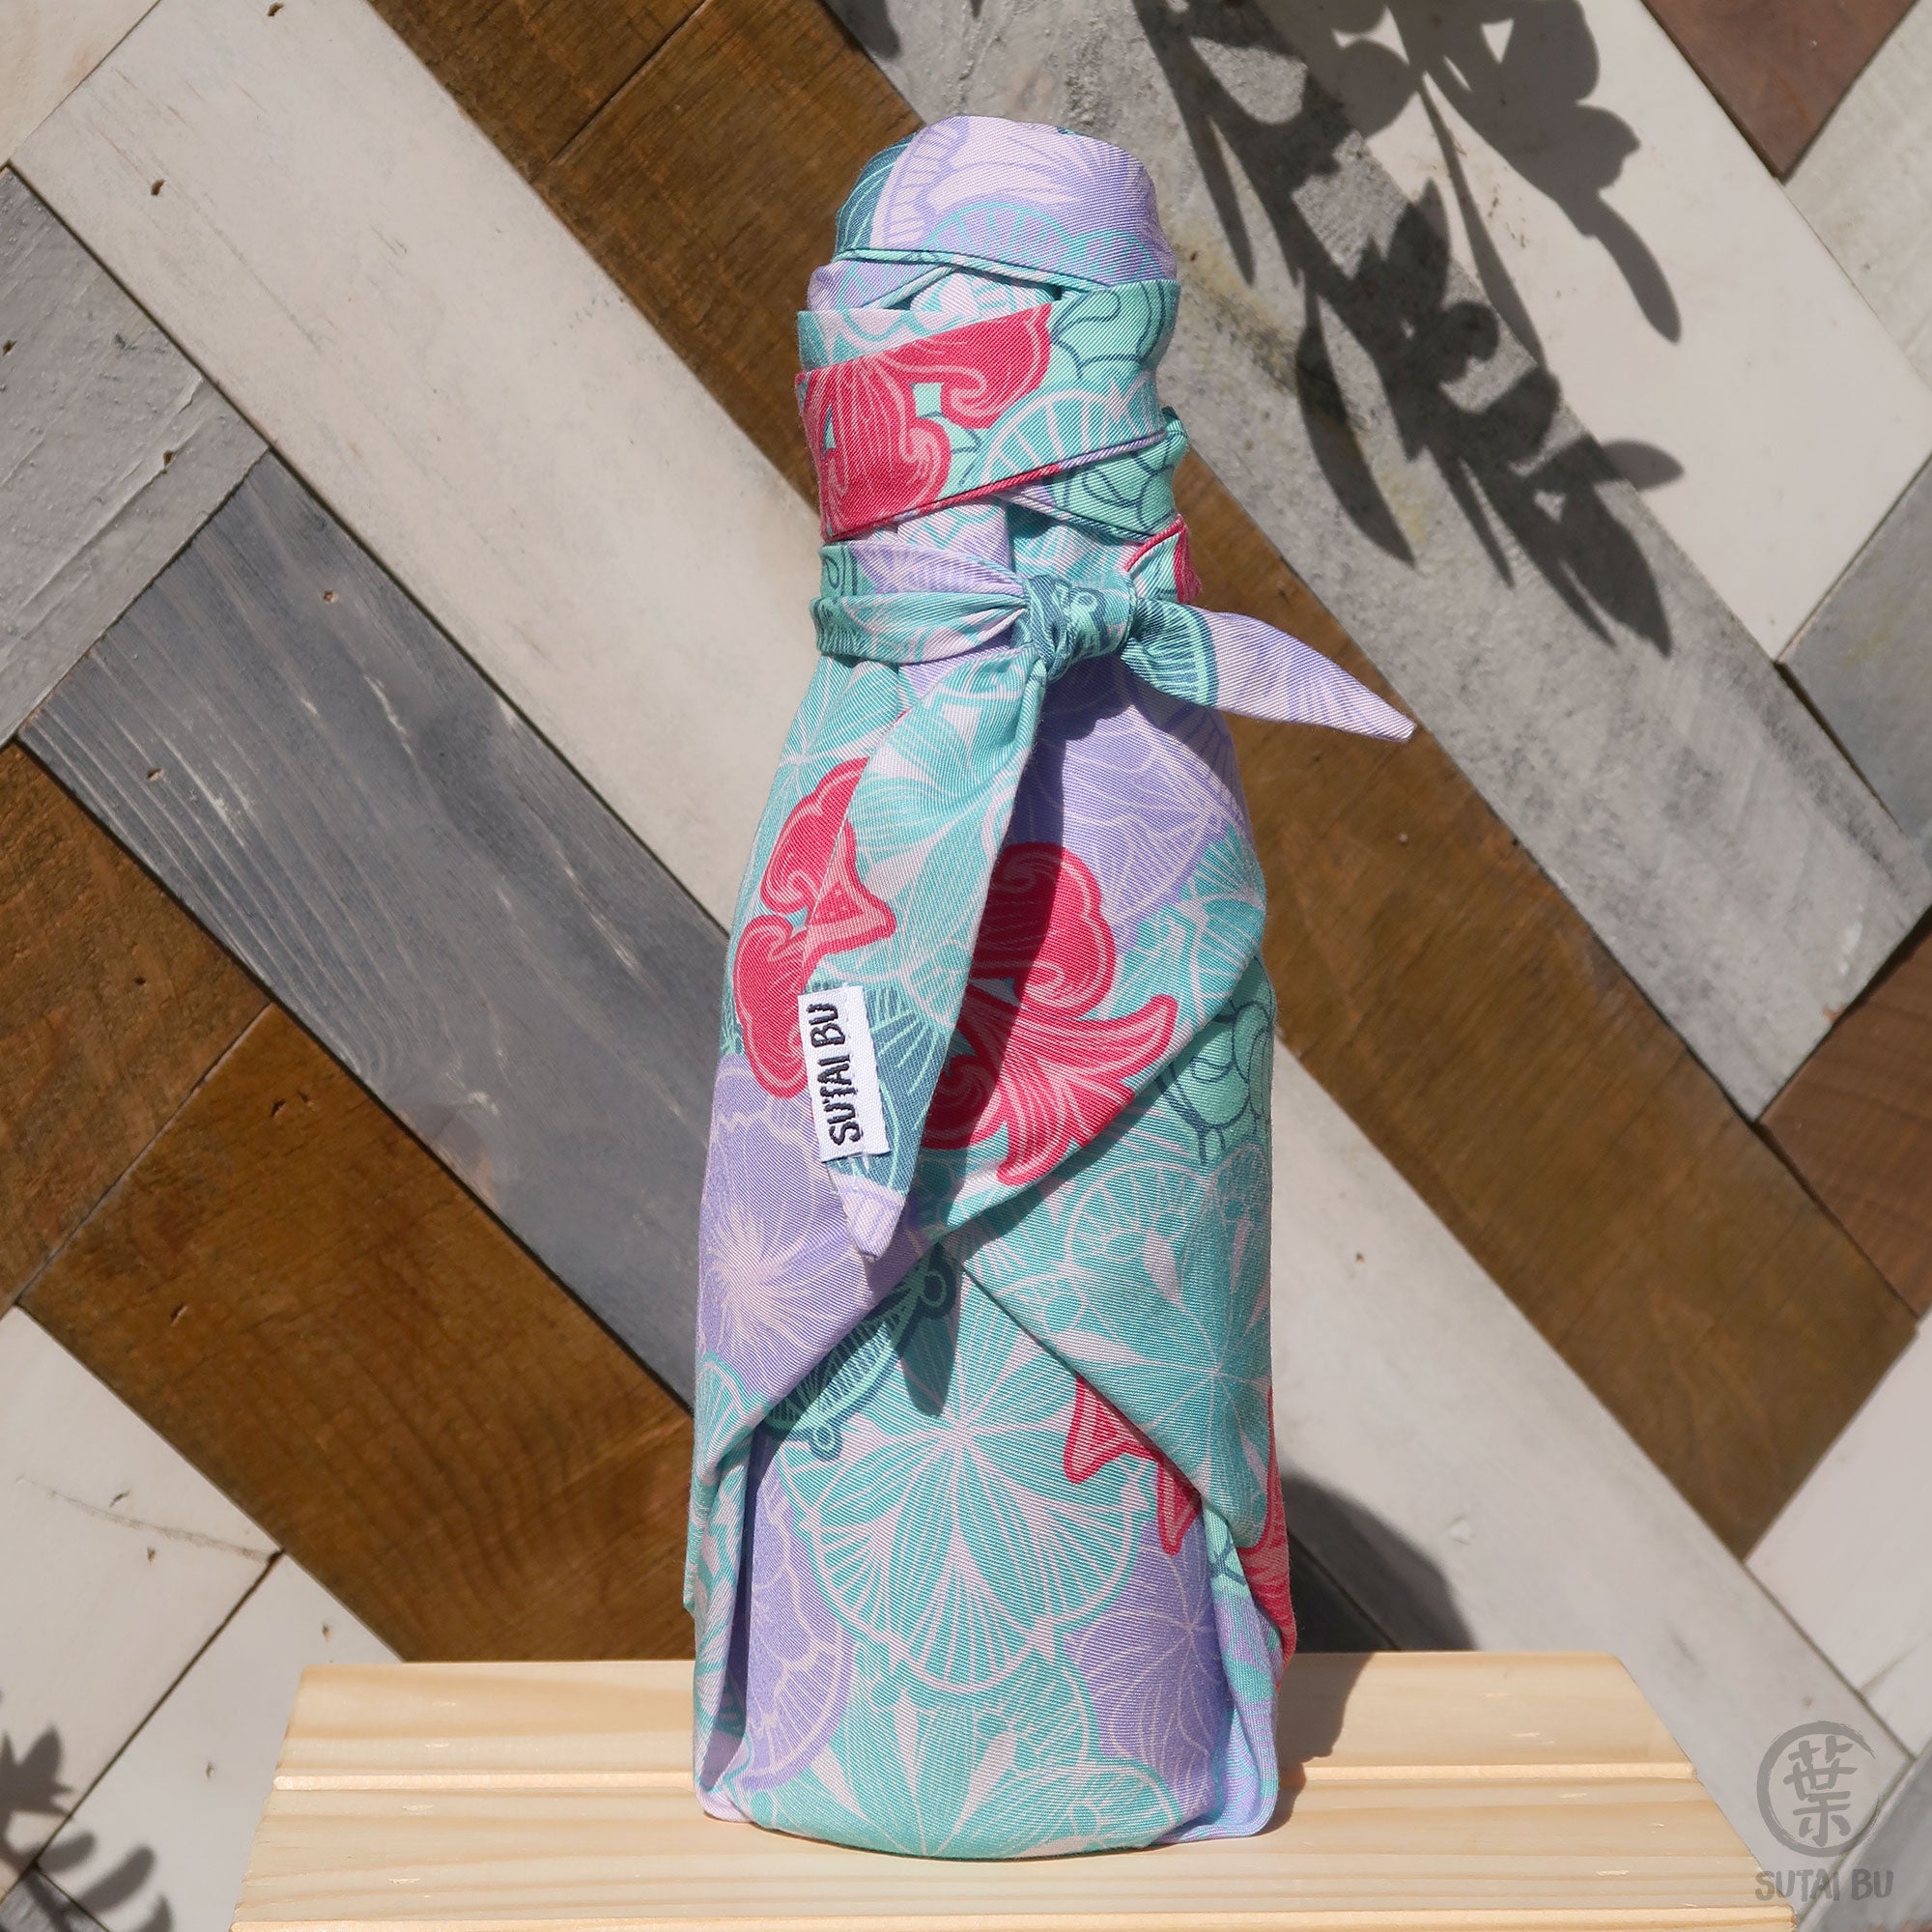
STYLE 1
SINGLE BOTTLE WRAP WITH FUTANHABA (27”)

STEP 1
Lay open your selected Furoshiki cloth, with the wrong side facing up.
Place the bottle in the center of the cloth.
*If you are using our Sutai Bu Wrapping Cloth, we have placed our logo in the center of the cloth for easy maneuverability in case our customers don’t have a big enough space to spread out the cloth. Neat, right? 🙂

Lay the bottle down, with the top pointing at one of the corners.
Fold over the opposite corner - the two corners do not have to overlap exactly, keeping a 1-1.5” (2.5-4 cm) distance will create a better look towards the end!

We want the bottom of the bottle flush against the fabric at the end, so we will have to slide the bottle up against the folding point.

Fold up the left and right side corners of the bottle to meet the top corner.
Hold down the bottle and fabric with one hand, using the other hand to pull the folded left corner over to the right as you crease, tighten the wrap, and hold down all the layers with your hands. Repeat the step for the folded right corner as well.

To get ready for the next step, lay open the wrapping band/ribbon wide from left to right.
Following the direction of the folds, wrap the top corner around the fabric layers and bottle until you run out of fabric to fold.
Once you complete this step, place the bottom of the bottle neck on the middle point of the wrapping band/ribbon.

We will be wrapping and crisscrossing the wrapping band/ribbon to hold the fabric layers tight together for the next step.
With one hand – let’s call this the anchor hand, hold down the layers of fabric and bottle at the bottle neck area. Pick up the ribbon with the fingers from the same hand, adding the ribbon to your catch. Use the other hand to pick up one side of the ribbon and lightly pull upward towards the top of the bottle, flip over the anchor hand, then use the thumb of your anchor hand to hold down the ribbon. Switch the anchor hand, and flip the other side of the ribbon over the anchor hand.
Repeat the steps until you have about 6-8” (15-20 cm) left on both ends.

With the last crisscross of the wrapping band/ribbon tails facing you, fold over the top of the bottleneck, wrap the tails around the bottom of the bottleneck, and tie a square knot. Now you have a handle to carry/present to your recipient.
There you have it! A bottle of spirits along with two value-added gifts for your friend or loved one!
Our 27” Futahaba wrapping cloth can also be used in many other ways, such as a neck scarf. For the wrapping band, it can be used as a double headband or styling as a necktie. The ideas are endless, and perfect for creative individuals who love unique gifts. Learn more wrapping techniques from our Journal!
STYLE 2
DOUBLE BOTTLE WRAP WITH FUTANHABA (27”)

Lay open your selected Fursohiki cloth in a diamond orientation, with the wrong side facing up.
Place 2 bottles in the center of the cloth, with their bottoms against each other, and the top point at each corner.

Fold over the bottom corner to the top - the two corners do not have to overlap exactly - keeping a 1-1.5” (2.5-4 cm) distance will create a better look towards the end!

Here’s the fun part! Tightly roll the bottles upward in the cloth. The tighter it is, the cleaner look you get!

Once you reach the top corner of the cloth, be sure the top corner falls on the top of your neat roll and between the 2 bottles.

Slowly with control, stand the bottles up. Grab hold of the ends, making sure your roll is intact! Be sure the top corner from Step 4 is hidden under and in between the bottles now.

Tie your perfect square knot and you are done!
There you have it! 2 bottles securely wrapped together with a small handle.
If you are looking to have a longer carrying handle, use the Nishihaba (35”) size, and follow the following steps.

To have a longer carrying handle, you will need a bigger Furoshiki, the next size up is Nishihaba at 35”.
Once you reach STEP 6, instead of tying a square knot, tie the corners together once.
Using your fingers, twist and curl the ends until you reach the last couple inches at the end.
Tie a square knot and you are done!

STYLE 3
HALF DOZEN WRAP + HANDLE WITH NISHIHABA (35”)

Lay open your selected Fursohiki cloth in a diamond orientation, with the wrong side facing up. Place 6 bottles in the center of the cloth, with their bottoms against each other, and the top point at each corner.

Pull the top and bottom corners together and tie a square knot! Be sure the corners and square knot are tied tightly together so the bottles won’t run away later.

Slowly with control, hold onto the left and right corners, pull upward until all the bottles are standing upright on their own.

You are now ready to finish it with your perfect square knot!
So there you have it, 3 ways to wrap a single bottle, double bottles, and half a dozen of bottles with one single piece of square cloth! Which one is your favorite style?
Let us know if you have any questions or comments by leaving us a message below! We want to see how you’re styling your wrapping band, so tag us on Instagram or Facebook by using the hashtag #SutaiBuStyles.